I bought my first drone in 2023 — a DJI Mavic Air 2 that I almost crashed into a tree within the first ten minutes. Three years and thousands of aerial shots later, I've learned a few things the hard way. These are the drone photography tips I wish I'd known from the start, whether you're just unboxing your first drone or looking to push your aerial work to the next level.
1. Learn to Fly Before You Learn to Shoot
This sounds obvious, but most beginners (myself included) launch the drone and immediately start taking photos. Bad idea. Your first few flights should be in an open field with zero obstacles — no trees, no power lines, no people. Just you and the sky. Get comfortable with the controls, learn how the drone responds to wind, and practice smooth movements. The photography can wait.
I spent my first weekend flying in an empty field near Sofia. Boring? Yes. But when I finally took the drone to the Greek coastline a month later, I wasn't fighting the controls — I was focusing on the shot.
2. Always Shoot in RAW
If your drone supports RAW files, use them. Always. JPEG files look fine on the tiny controller screen, but the moment you try to recover shadow detail or adjust white balance in post, you'll hit a wall. RAW gives you the flexibility to pull out details that JPEG simply throws away.
The DJI Mavic Air 2 shoots RAW, and that alone has saved dozens of photos that looked terrible on the controller but came alive in Lightroom.
3. Keep Your ISO as Low as Possible
Drone sensors are small, and small sensors mean more noise at higher ISOs. Stick to ISO 100 whenever you can. If the light is fading and you need more exposure, slow down the shutter speed instead of cranking the ISO. Since most drone shots are landscapes (no fast-moving subjects), a slightly slower shutter won't hurt.
4. The 30% Battery Rule
This is the drone photography tip that almost cost me a Mavic Air 2 over the Aegean Sea. I was shooting a coastline in Greece at sunrise — the light was perfect, the composition was almost right, so I kept flying further out. When I finally checked the battery, it was at 12%. Four hundred meters from shore.
I panicked, fired off 15 rapid shots, and hit Return to Home. The drone made it back with 4% left. I got the shot — but I also got a near heart attack. Now my rule is simple: when the battery hits 30%, I'm heading back. No exceptions. The best drone photography tip I can give you is this: a safe drone takes more photos than a lost one.
5. Composition Is Different from Above
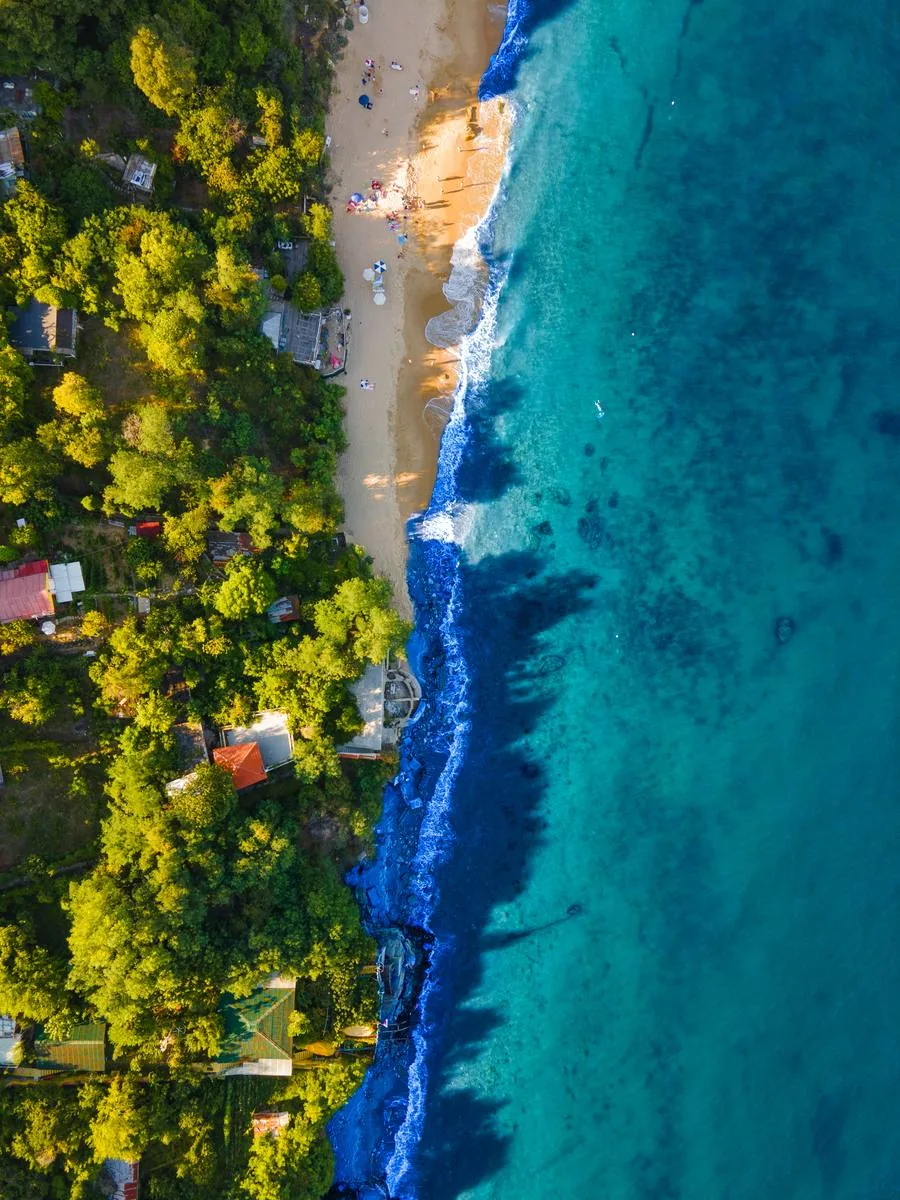
Everything you know about ground-level composition changes when you're shooting from 50 meters up. Leading lines become more powerful — roads, rivers, coastlines, and shadows all create natural paths for the eye. Patterns and textures that are invisible from the ground suddenly dominate the frame. And scale becomes your best friend — a single person, car, or boat in a vast landscape tells a story that a ground-level photo can't.
My most effective aerial compositions usually follow a simple formula: one strong geometric element (a road, a shoreline, a row of trees) combined with one element that breaks the pattern (a boat, a building, a splash of different color).
6. Shoot at the Right Time of Day
Golden hour and blue hour are magical from any camera, but from a drone they're transformative. The low sun creates long shadows that give flat landscapes depth and dimension. Water becomes a mirror. And the warm light wraps around coastlines and mountains in ways that midday sun simply can't match.
That said, overcast days aren't a waste. Soft, even light is great for revealing textures — forests, fields, urban patterns — without harsh shadows competing for attention. Some of my best aerial shots of roads through forests were taken under cloud cover.
7. Mind the Wind (Seriously)
Wind is the invisible enemy of drone photography. Even if conditions look calm at ground level, it can be significantly windier at 100 meters altitude. Most drones handle moderate wind fine, but your battery drains faster when the motors are fighting gusts, and your footage may show micro-vibrations that ruin sharpness.
Check the wind speed before every flight. I use apps like UAV Forecast and Windy — they give altitude-specific wind data, which is much more useful than just checking the regular weather forecast.
8. Use ND Filters for Smoother Results
If you're shooting video or want to experiment with slower shutter speeds for motion blur in waves or waterfalls, ND (Neutral Density) filters are essential. They reduce the amount of light hitting the sensor, letting you use longer exposures without overexposing the image.
For photography, an ND filter also helps in very bright conditions — midday beach scenes, snow, or bright sand — where even ISO 100 and a fast shutter speed might overexpose the highlights.
9. Know the Rules Before You Fly
This isn't a creative tip, but it's one of the most important. Drone regulations vary wildly between countries, and ignorance isn't a valid excuse. In the EU, drone regulations depend on the category and zone. The Mavic Air 2 falls under the Open A2 subcategory, but you still can't fly near airports, over crowds, or in many national parks.
I've been in situations — especially in Greece and Croatia — where a stunning location turned out to be a no-fly zone. Check before you drive two hours to a remote cliff at 4 AM. Trust me on this one.
10. Don't Delete Anything in the Field
Your drone's screen is small, the glare is terrible, and you're making split-second judgments about composition while mentally tracking battery life and wind speed. This is not the time to decide which photos are keepers. Import everything. Review on a proper screen. Some of my portfolio shots came from frames I nearly deleted on the spot.
My Drone Setup
For anyone curious, here's what I fly with in 2026. My main drone is the DJI Mavic Air 2 — it's not the lightest option out there, but the 1/2-inch sensor and 48MP resolution make it worth the extra weight. The image quality is remarkable, especially in RAW. I pair it with a set of Freewell ND filters and always carry three batteries (the Fly More combo is worth every cent). For planning flights, I use the DJI Fly app alongside UAV Forecast for weather and airspace data, and Google Maps satellite view for scouting compositions before I even leave the hotel.
Drone photography changed the way I see landscapes. It added a dimension to my work that I didn't know was missing. If you're on the fence about getting started — get a lightweight drone, find an empty field, and give yourself permission to be terrible at it for a week. The photos that come after are worth it.