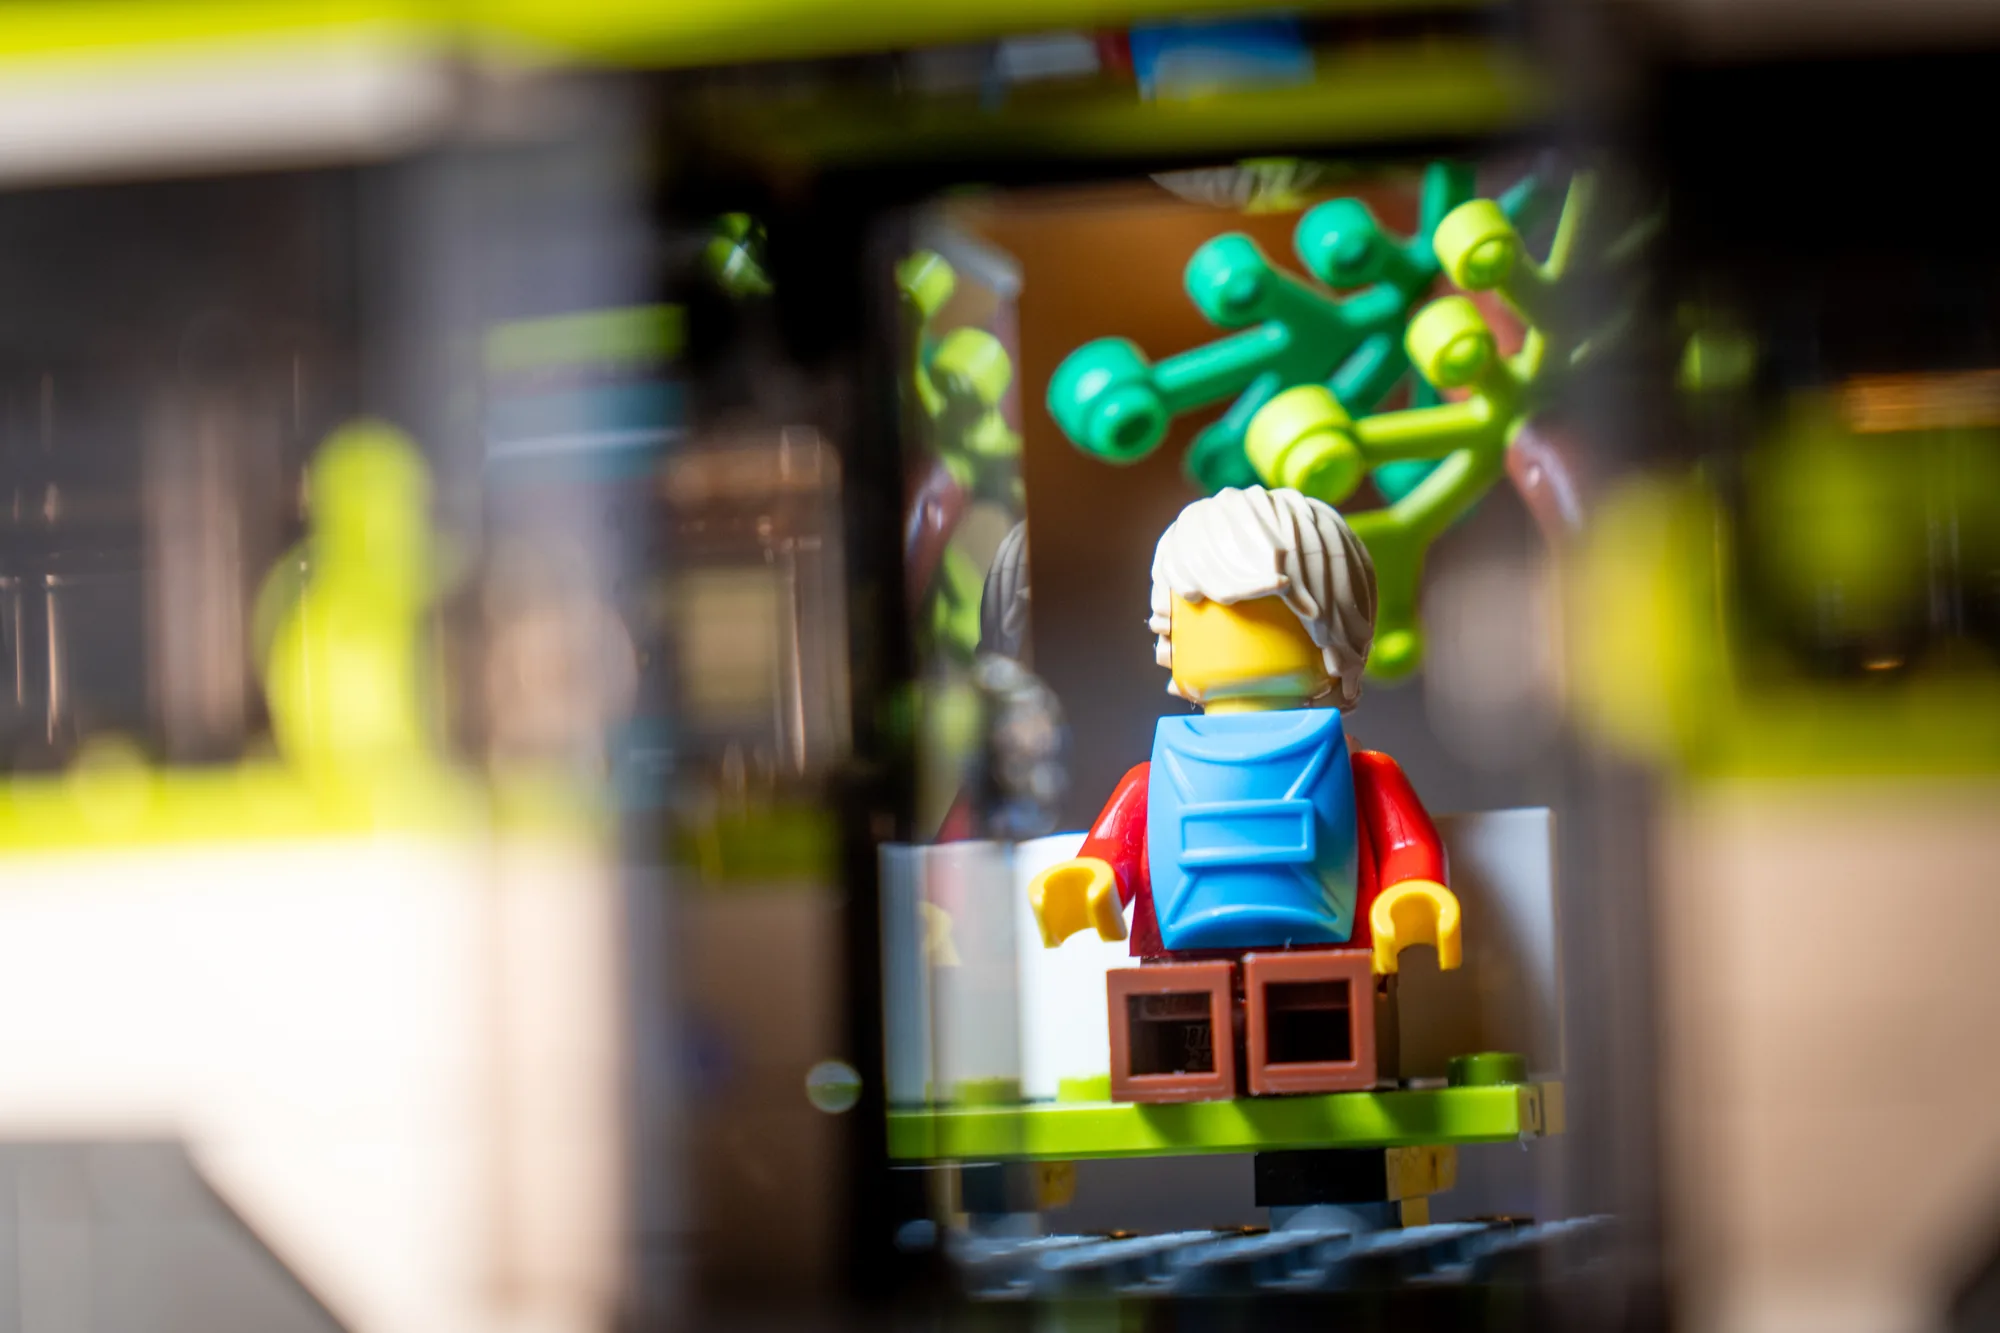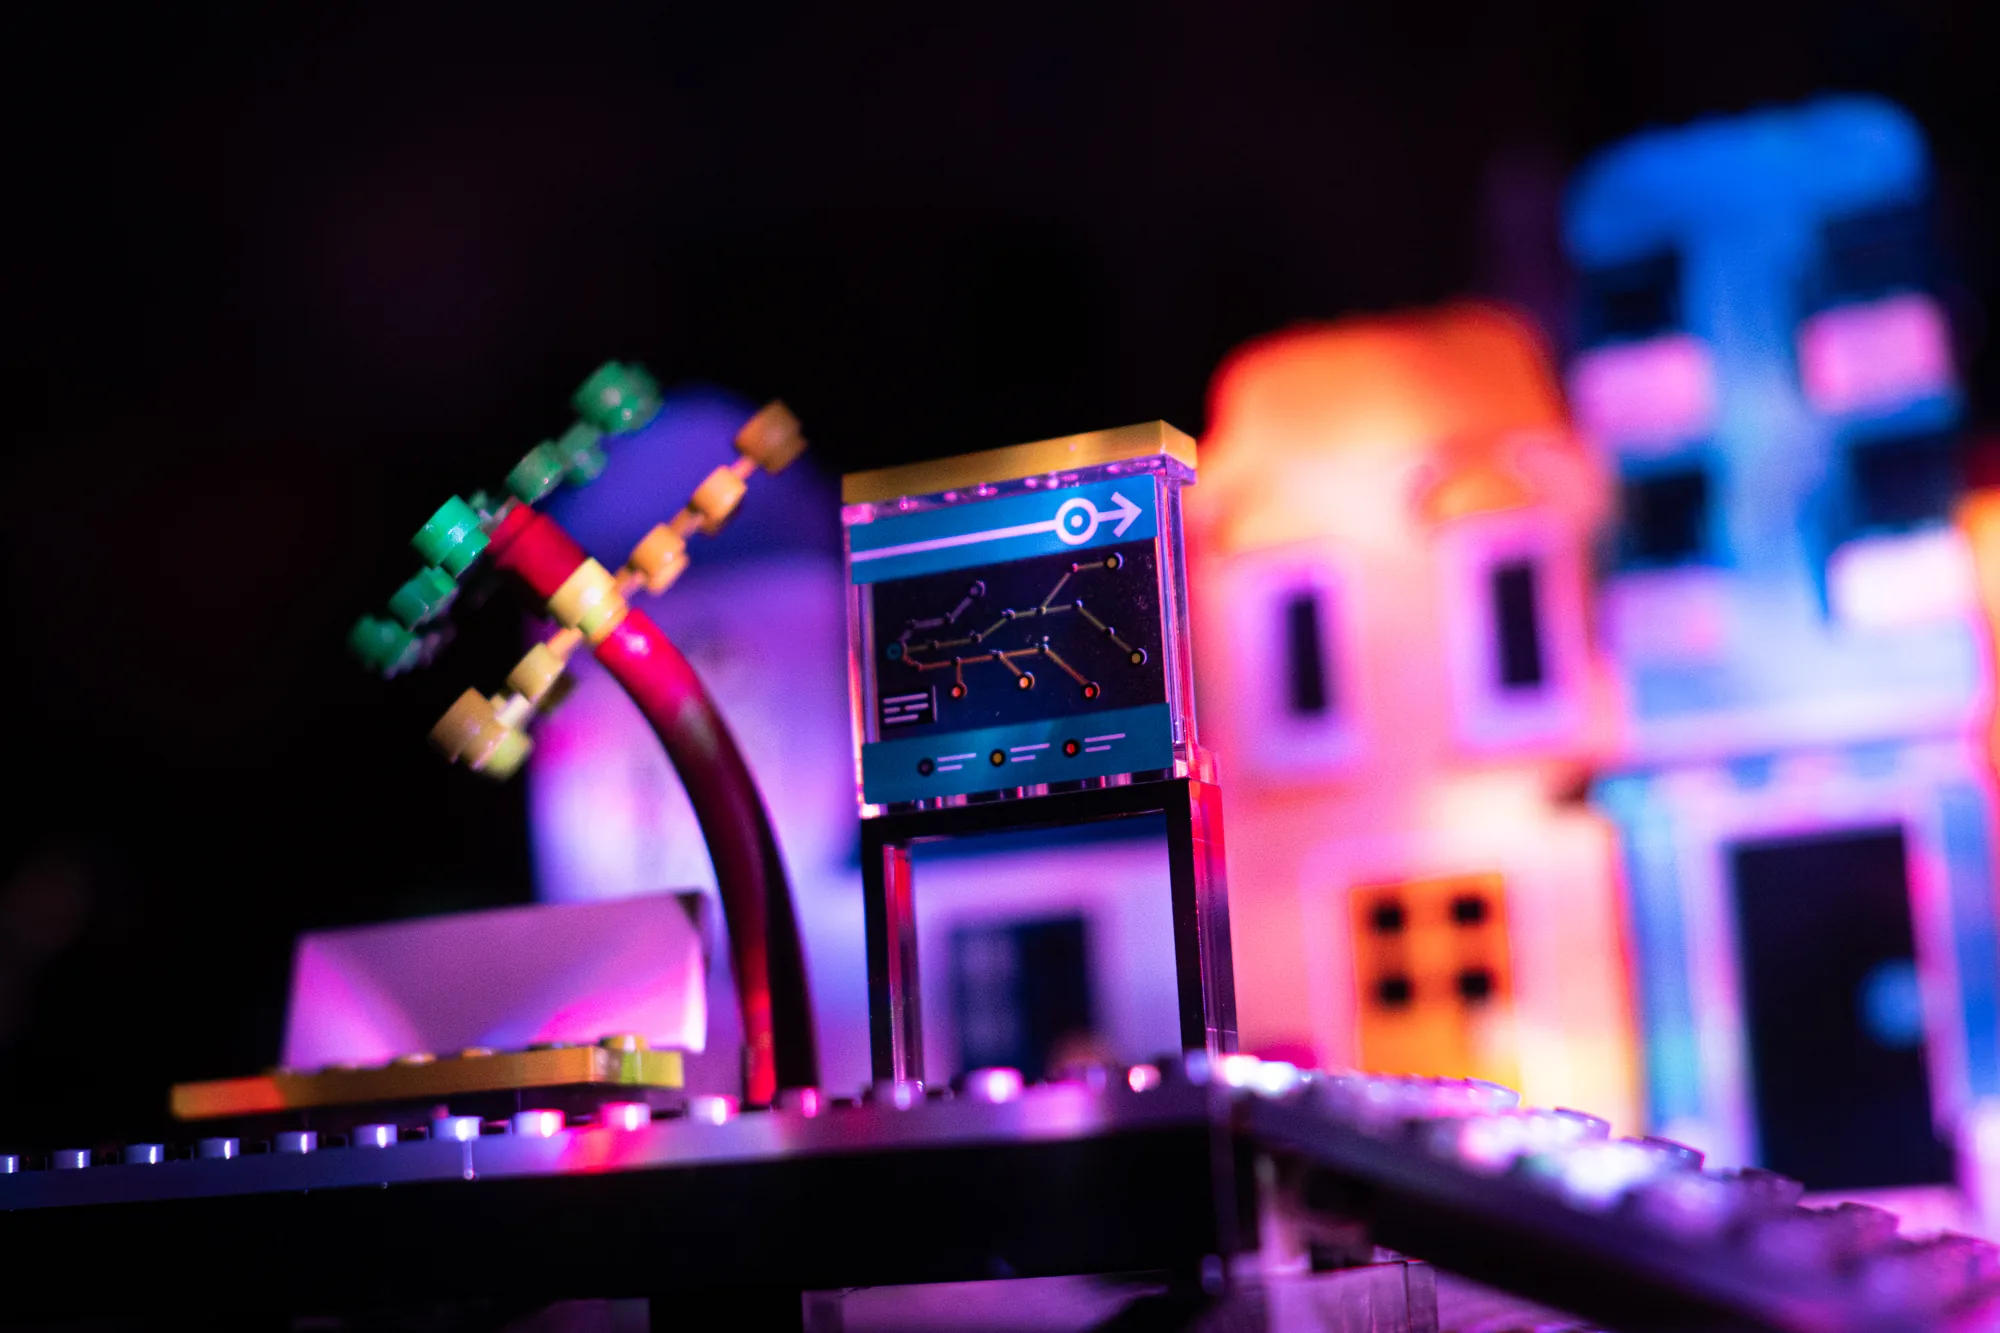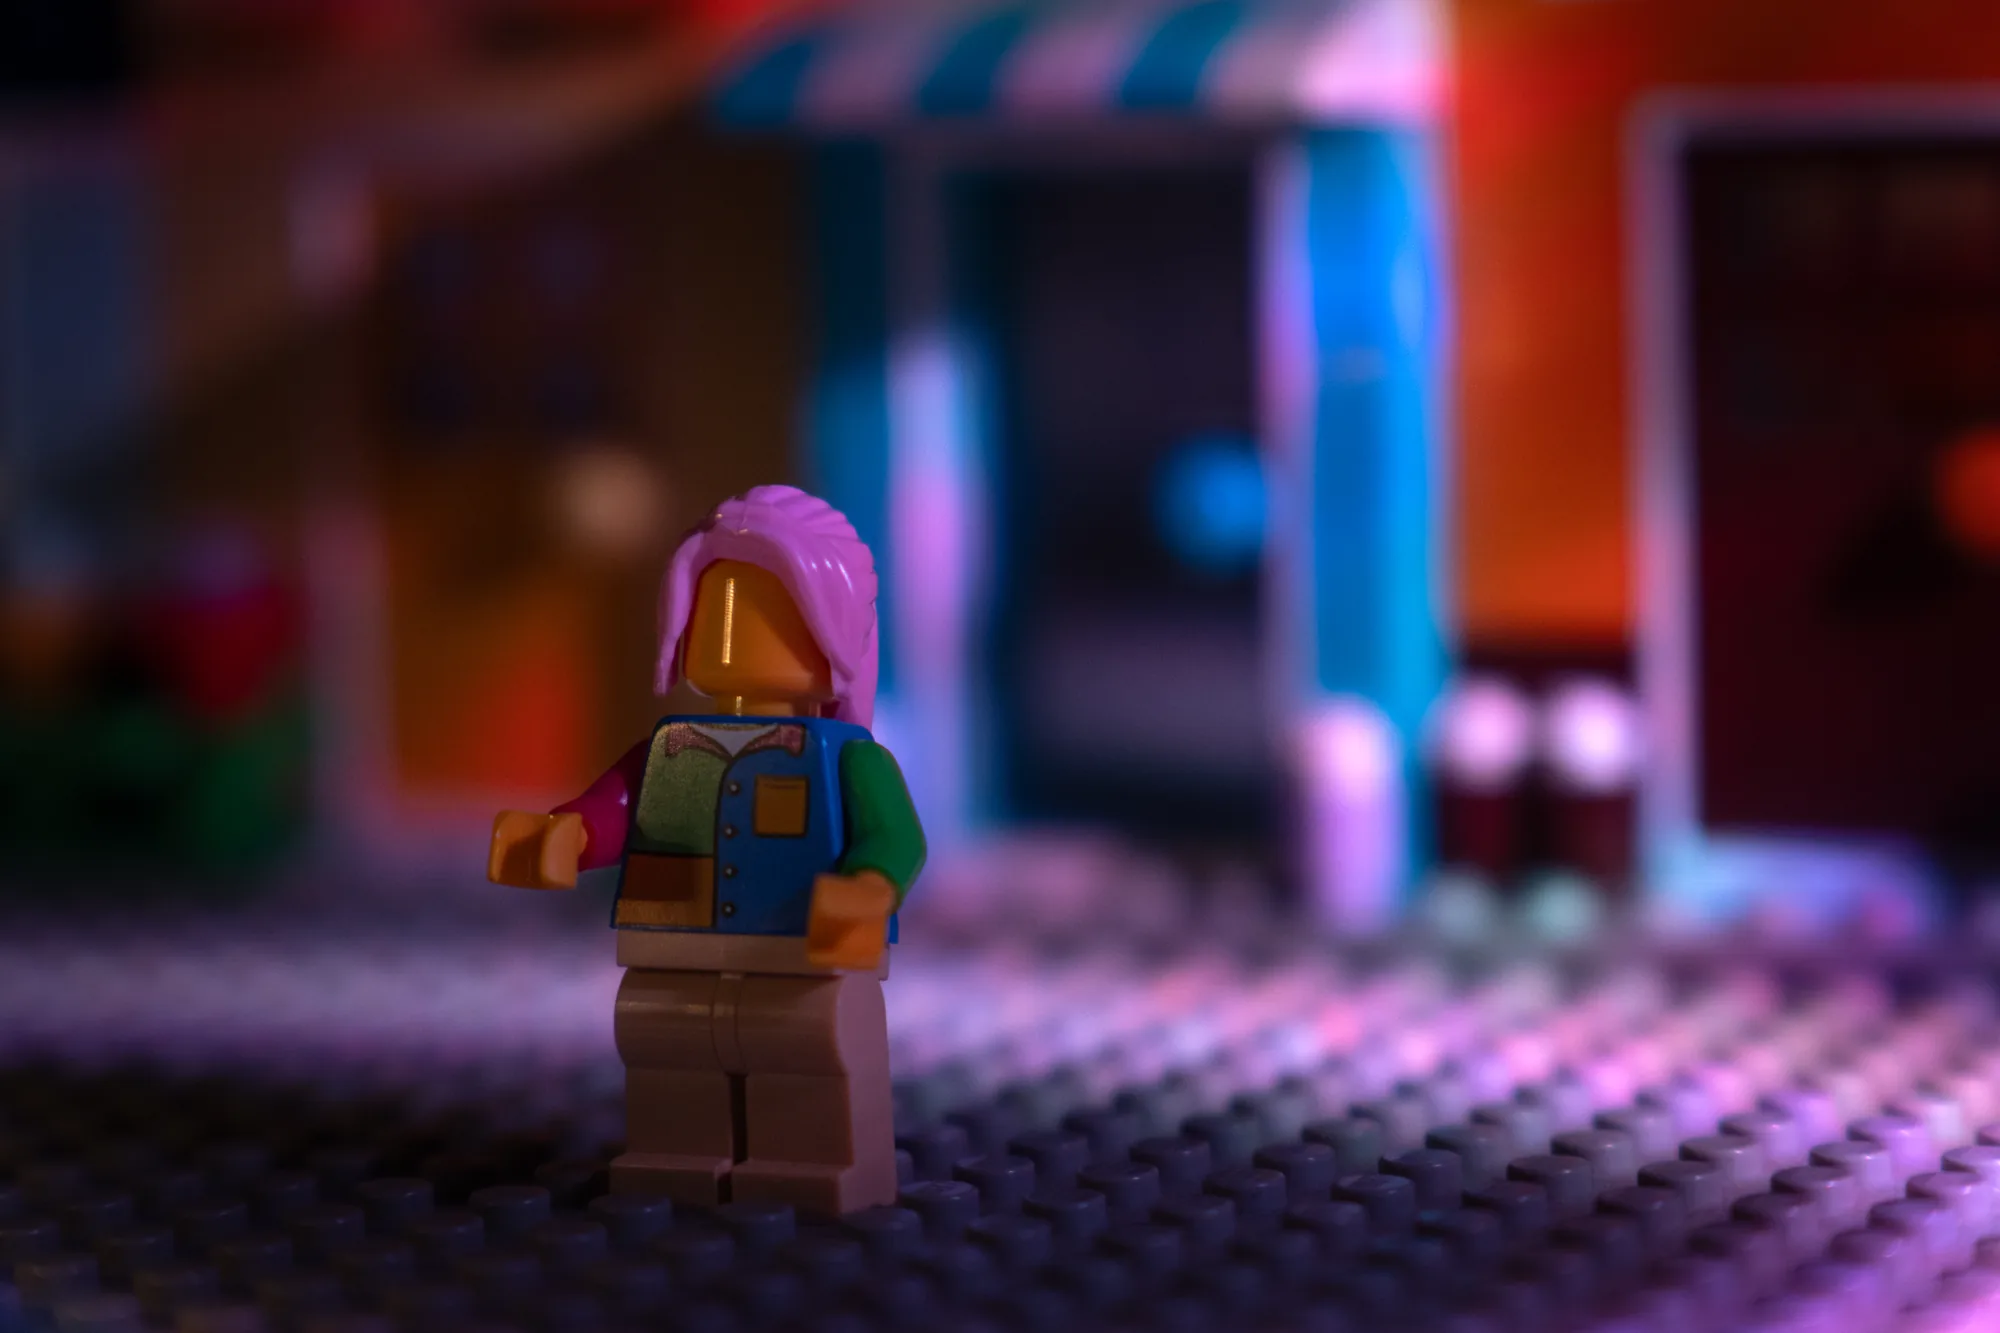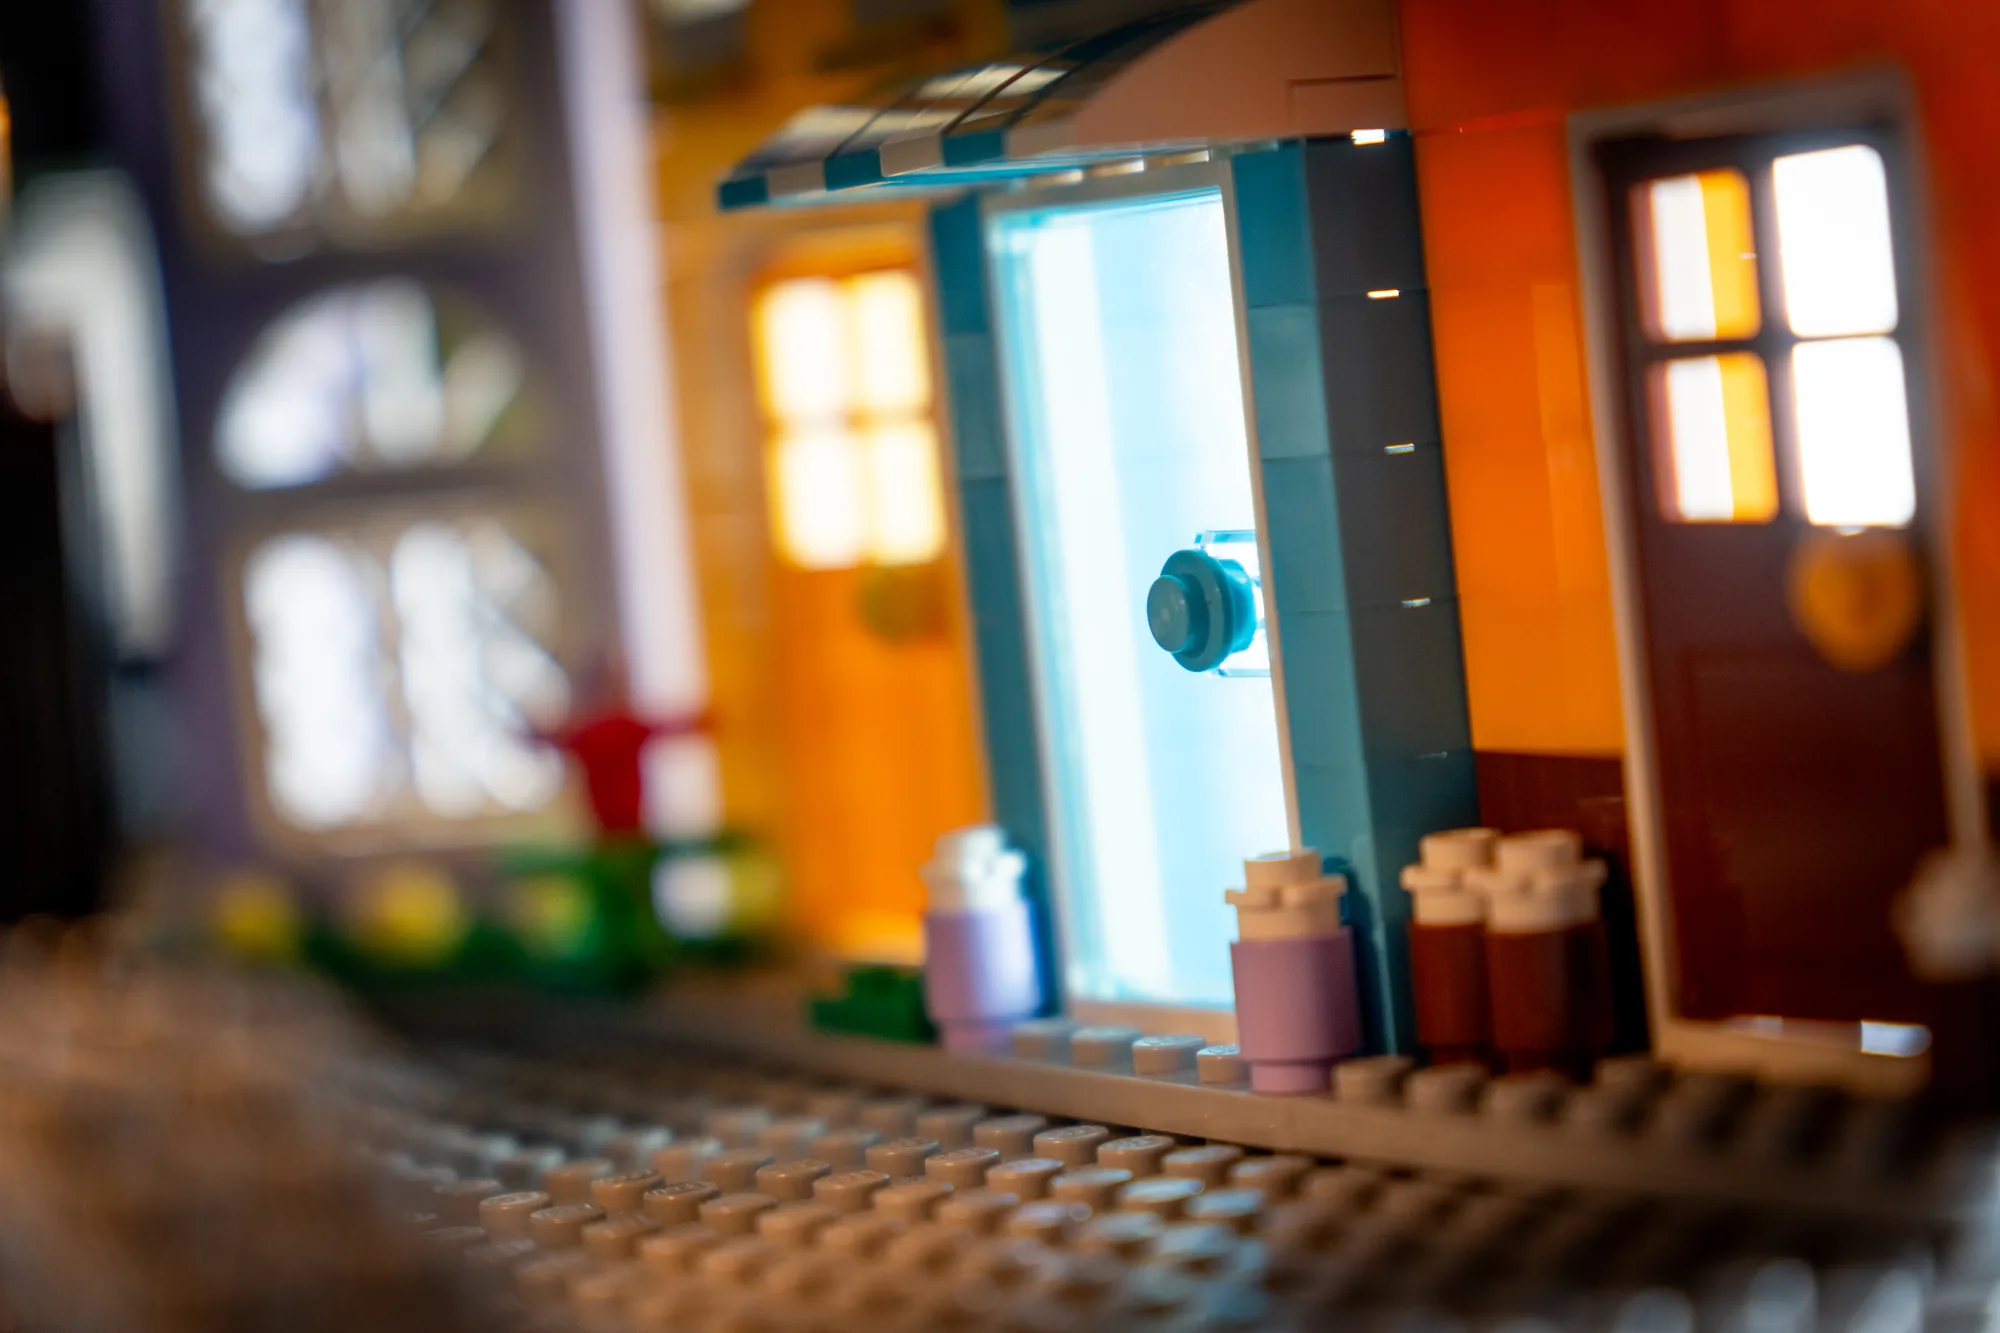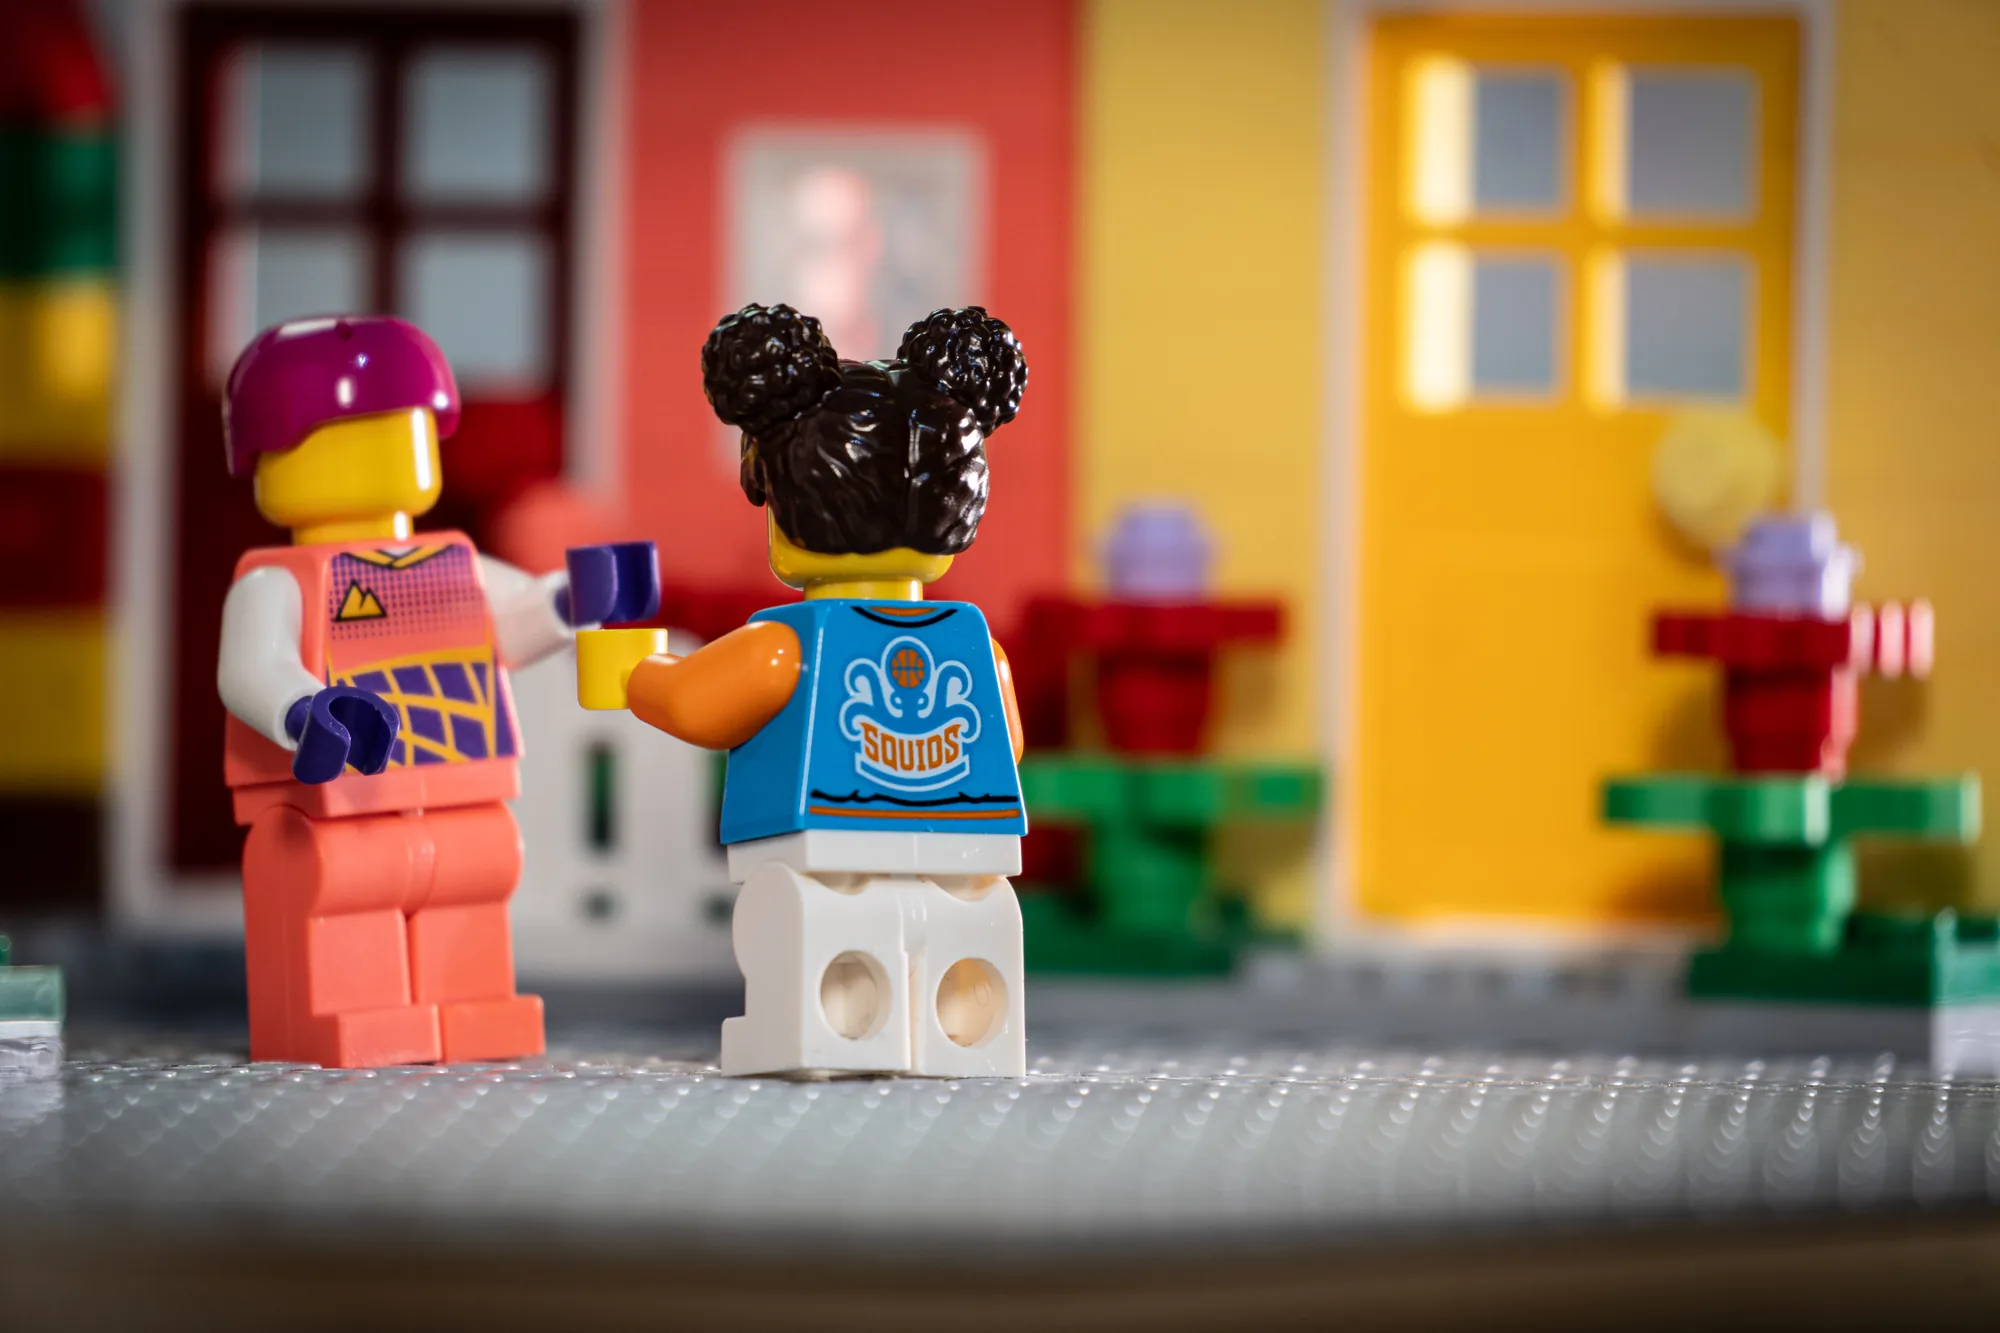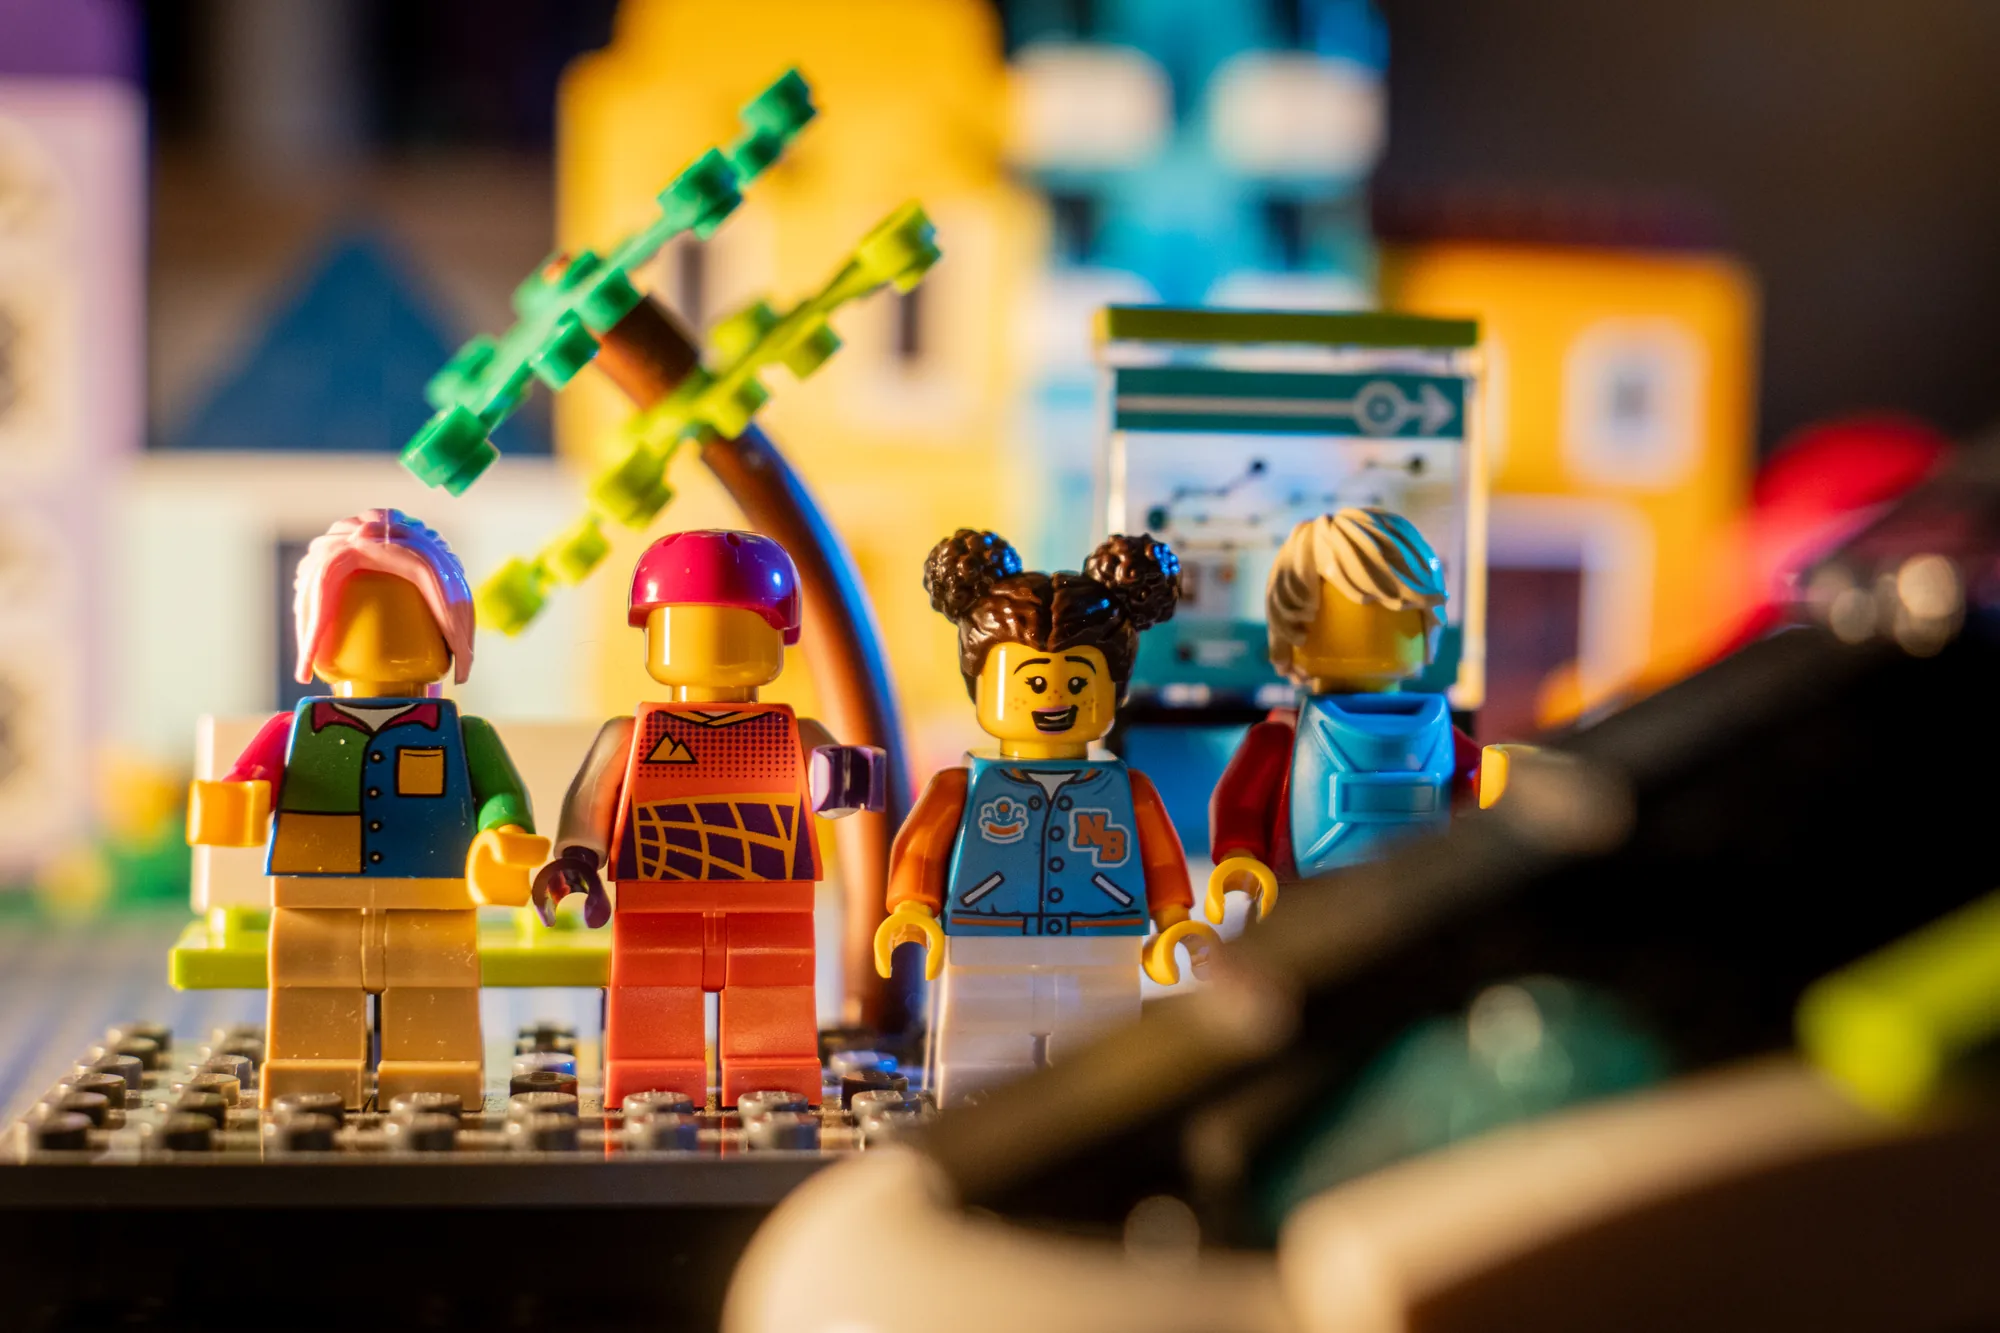
The LEGO series started as a project at BECA called "Light & Shadow." The brief was deceptively simple: explore how light defines a scene. I'd been thinking about this outdoors for years — chasing golden hour, waiting for the right shadow to fall across a building. But when I set up my daughters' LEGO city on a table, surrounded it with my SmallRig LED panels, and looked through the viewfinder for the first time, something shifted. Here was a world I could control completely — every light source, every shadow, every color. For the first time, I wasn't reacting to light. I was designing it.
What started as a BECA assignment quickly became one of my most rewarding creative projects. More than a dozen finished images later, the series keeps growing. Here's what I've learned about why tiny plastic bricks can teach you more about light than a thousand sunsets.
The Appeal: Total Control Over Light
In landscape and travel photography, you're always at the mercy of conditions. The sun is where the sun is. The clouds do what they do. You can plan around golden hour, but you can't move it. With LEGO photography, you control everything. You place the light source exactly where you want it. You decide the color temperature, the direction, the intensity, the falloff. You can create a sunset at midnight or a neon-lit cityscape on your kitchen table.
This control is what hooked me. I'd spent years chasing the right light outdoors, and here was a way to study it — to truly understand how a single light source at 45 degrees creates depth, how backlighting creates silhouettes, how colored gels transform a neutral scene into something cinematic. LEGO photography became my lighting laboratory.
Building the Scene
The photography starts long before the camera comes out. I spend more time building and arranging than I do shooting. A good LEGO photograph needs a scene that tells a story or creates a mood, even if it's just a street corner with a lamp post. I build with the final image in mind — thinking about depth, layers, and what will be in focus versus what will be a soft blur in the background.
The neon city series came from wanting to recreate the atmosphere of nighttime city streets — rain-slicked surfaces, glowing signs, that particular feeling of being the only person awake at 3 AM. I built a small street scene, maybe 40 centimeters wide, with storefronts, signs, and a road. Then I spent an evening experimenting with my SmallRig RGB panels — layering colors, adjusting intensity, trying different angles. The result felt more like a still from Blade Runner than a photo of children's toys.
Lighting Techniques That Changed Everything
The biggest lesson from LEGO photography is this: start with one light and build from there. A single SmallRig panel, positioned carefully, can create dramatic shadows and a sense of depth that multiple lights often flatten. I start every setup with one light — usually the SmallRig RM120 RGB panel — and ask myself what story it tells before adding anything else.
Colored light is where things get really interesting. The SmallRig RF10C RGB LED Flashlight became my secret weapon — small enough to place inside or directly behind scenes, with full RGB color control. A wash of purple from the RF10C behind the scene and a warm yellow from the P96 Mini in front creates instant atmosphere — that neon glow you see in the city series. The SmallRig RM120 handles the broader scene lighting, and I layer effects by adjusting color temperature and intensity across all three sources. The miniature scale means even small LED panels have a huge effect.
Backlighting through translucent LEGO pieces creates a glow that looks almost magical. Some LEGO elements — windows, transparent bricks, colored panels — transmit light beautifully. I discovered this during one of the early BECA sessions when the RF10C behind a LEGO window turned a flat scene into something atmospheric and warm. Having multiple color-controllable lights lets me create layered lighting setups that would be impossible with a single source.
Camera Settings for Miniature Worlds
The technical challenge is depth of field. At close distances, even f/8 gives you a razor-thin plane of focus. This can work for you — a shallow depth of field makes LEGO scenes look larger and more cinematic, blurring the background into soft bokeh that hides the fact that you're shooting plastic on a desk. I usually shoot between f/2.8 and f/5.6, deliberately choosing what's sharp and what falls away.
Having multiple lenses makes a real difference in this kind of work. I switch between focal lengths depending on the mood I'm after — a wider lens to capture an entire street scene with some environmental context, or a longer lens to isolate a single minifigure with compressed, cinematic bokeh. My SmallRig 3935 tripod is essential — you're working with slow shutter speeds in dim, controlled light, and even the slightest vibration shows at this scale. ISO stays at 100 because noise kills the illusion of scale. Shutter speed is whatever it needs to be; the scene isn't going anywhere.
Post-Processing: Selling the Illusion
Editing LEGO photos is about making the miniature feel real — or at least, making it feel intentional. I boost contrast more than I would with landscape work, because the plastic surfaces can look flat. I add a subtle vignette to draw the eye inward. Color grading is critical — the neon series lives and dies by its teal-and-orange palette, which I dial in through HSL adjustments in Lightroom.
I also do some cleanup in post. Fingerprints on shiny LEGO surfaces, dust particles that look like boulders at this scale, the occasional visible edge of the set. These small fixes maintain the illusion. The goal isn't to trick anyone into thinking it's real — it's to create a consistent world that the viewer can get lost in for a moment.
What LEGO Taught Me About "Real" Photography
Here's the unexpected part: LEGO photography made me better at everything else. When I go back to shooting landscapes or architecture, I see light differently. I understand why a particular shadow works, because I've spent hours placing shadows deliberately in miniature. I'm more intentional about color because I've learned to build palettes from scratch. I compose more carefully because every LEGO frame is a deliberate construction.
It also taught me patience. A LEGO shoot takes hours — building, lighting, testing, adjusting, rebuilding. There's no "spray and pray." Every frame is considered. That discipline carries over to outdoor work, where I now spend more time on fewer shots instead of machine-gunning the shutter.
The Gear That Made the Difference
Over the course of this series, I built up a lighting kit that gives me complete creative control. The SmallRig RM120-3808 RGB LED Video Light is my main scene light — wide enough to cover a full LEGO streetscape, with adjustable color temperature and RGB modes. The SmallRig P96 Mini LED Video Light is perfect for fill and accent work. And the SmallRig RF10C RGB LED Flashlight is the one I reach for most — small enough to hide inside a scene, bright enough to serve as a practical light source within the miniature world itself. All three mounted on my SmallRig 3935 tripod or positioned freehand around the set.
You can absolutely start simpler than this — a camera with manual mode, a single light source, and a dark room will get you surprisingly far. But if you get hooked the way I did, investing in small, color-controllable LED panels changes the game. The point isn't the gear, though. The point is learning to see light as a material you can shape. This series started as a BECA assignment and became one of the most creatively rewarding projects I've ever done. It's photography stripped to its essence: a subject, a light source, and a story.
From the Series: Light & Shadow
Here are some of my favorite shots from the LEGO series — spanning warm daylight scenes and neon-lit nightscapes, all shot on a tabletop with SmallRig LED panels, multiple lenses, and a lot of patience.