Looking back at my first few years of editing photos, I cringe. Oversaturated sunsets, HDR that looked radioactive, and a habit of deleting "bad" photos that I now realize were some of my best work. If you're just getting started with photo editing — whether in Lightroom, Capture One, or any other tool — here are the mistakes I made so you don't have to.
Mistake 1: Shooting JPEG Instead of RAW
This isn't technically an editing mistake, but it determines everything that follows. JPEG files look fine straight out of camera, but the moment you try to recover a blown-out sky or lift detail from shadows, you hit a wall. The data simply isn't there — JPEG compression throws it away.
RAW files are larger and need processing, but they give you dramatically more flexibility. Shadow recovery, white balance correction, highlight detail — all of these are possible with RAW in ways that JPEG can't match. Switch to RAW now. You'll thank yourself in six months when you re-edit old photos and realize how much detail was hiding in the shadows.
Mistake 2: Over-Saturating Colors
Every beginner does this. You open a sunset photo, drag the saturation slider to +60, and think "wow, that looks amazing." It doesn't. It looks like a screensaver from 2005. The problem is that screens show saturated colors pleasantly, so +60 looks great on your monitor — but printed or viewed on a calibrated display, it looks artificial.
A better approach: use the Vibrance slider instead of Saturation. Vibrance boosts muted tones while protecting already-saturated colors, which produces a more natural result. And keep it under +25 for most photos. If a sunset needs +60 saturation to look interesting, the photo probably wasn't that interesting to begin with.
Mistake 3: Going Too Hard on Clarity and HDR
Clarity makes textures pop. At +15, it adds pleasant definition. At +60, everything looks like it was carved from stone. HDR (or the "HDR look" from pushing shadows up and highlights down to extremes) has the same problem — a little adds depth, a lot makes photos look processed and unnatural.
The rule I follow now: if someone looks at your photo and says "nice editing," you've gone too far. The goal is for people to say "nice photo." The editing should be invisible.
Mistake 4: Deleting Photos Too Fast
This is the mistake that cost me the most. For years, I'd scroll through my photos on the camera screen and delete anything that looked "wrong" — blurry, poorly framed, too dark, too bright. I was judging on a 3-inch screen in direct sunlight, making permanent decisions about photos I'd spent hours getting to.
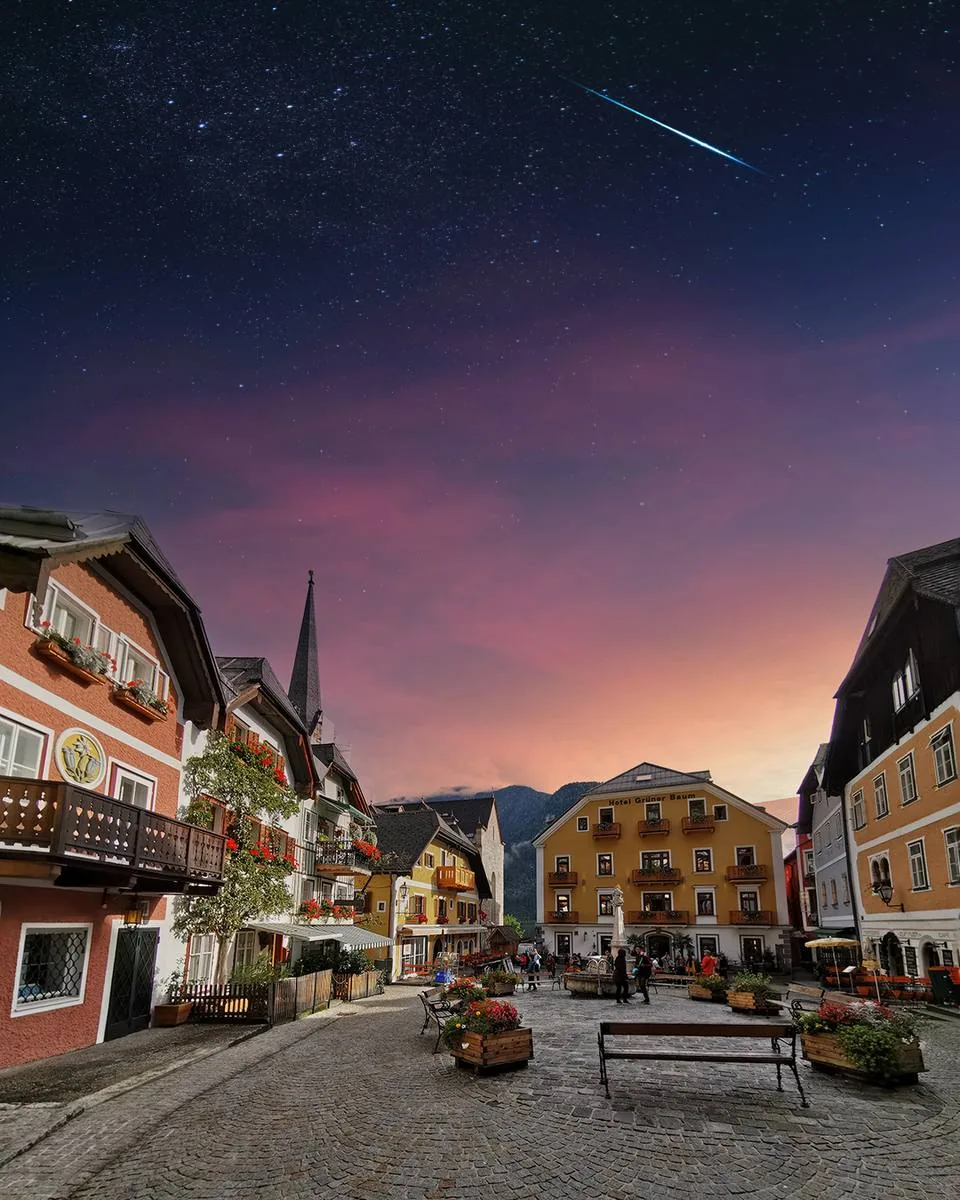
The lesson came in Hallstatt, Austria. I was shooting the village at night, took about 40 careful shots, then panic-fired three frames when a boat's wake broke up the reflection. I almost deleted those three frames on the spot. One of them turned out to be the best photo from the entire trip — the distorted reflection, the slight motion blur, and the accidental framing created something that my "technically correct" shots completely lacked.
Now I have a rule: never delete anything on the camera. Everything gets imported. Review on a proper screen. Flag anything that makes you pause, even if you can't immediately explain why. Some of your best work will come from the frames you almost threw away.
Mistake 5: No Consistent Editing Style
Starting from scratch with every photo leads to an inconsistent portfolio. One image looks warm and faded, the next is cool and contrasty, the next has a vintage film look. Each individual photo might be fine, but together they look like five different photographers shot them.
The fix: create presets that match your vision, then use them as starting points for every photo. Adjust from there, but keep the foundation consistent. Scroll through your Instagram or portfolio — do the photos feel like they belong together? If not, your editing style needs more consistency, not more variety.
Mistake 6: Ignoring Crop and Straighten
This sounds basic, but it's the most overlooked step in beginner photo editing. A horizon that's off by 1 degree is distracting, even if viewers can't articulate why the photo feels "wrong." And cropping — removing dead space, tightening the composition, converting to a different aspect ratio — is one of the most powerful editing tools available.
I check crop and straighten before I touch any other slider. Getting the composition right first means every adjustment afterward is building on a solid foundation.
Mistake 7: Skipping Backup
This isn't about editing aesthetics — it's about not losing years of work. I've met photographers who lost thousands of photos because their single hard drive failed. No cloud backup, no second drive, no recovery options. All those hours of shooting, editing, and organizing — gone.
My system: primary files live on an external SSD. A backup goes to a second drive. Critical work goes to cloud storage. This takes 15 minutes to set up and saves you from catastrophic loss. Do it today, not after something goes wrong.
My Current Editing Workflow
After years of trial and error, here's the process that works for me. I import all RAW files into Lightroom. First pass: star ratings only — 1 star for "yes," no star for "maybe," reject for obvious duds. Second pass through the starred photos: crop and straighten first, then apply my base preset, then fine-tune exposure, highlights, shadows, and white balance. I spend about 30 seconds on most photos and 2-3 minutes on the ones that need extra attention.
The biggest mindset shift was accepting that editing is not about making photos look "better." It's about making them look the way I remember the scene feeling. Sometimes that means warmer. Sometimes cooler. Sometimes it means leaving a photo almost untouched because the camera got it right. The best editing serves the photograph — it doesn't replace it.